3D printed SpaceX model rocket

3D printed SpaceX model rocket

As a life long space nerd, I have been following SpaceX’s progress on their Starhopper prototype in Boca Chica, Texas closely. I have actually been routinely checking progress at the site since it was first announced that SpaceX had leased land there several years ago. My interest in SpaceX’s activity in Texas goes beyond being a space nerd. South Padre Island, Texas (about 5 miles from the launch pads in Boca Chica) has been our family’s go to vacation beach in Texas for years now, so the thought of being able to drive from Austin to watch rocket launches is incredibly exciting.

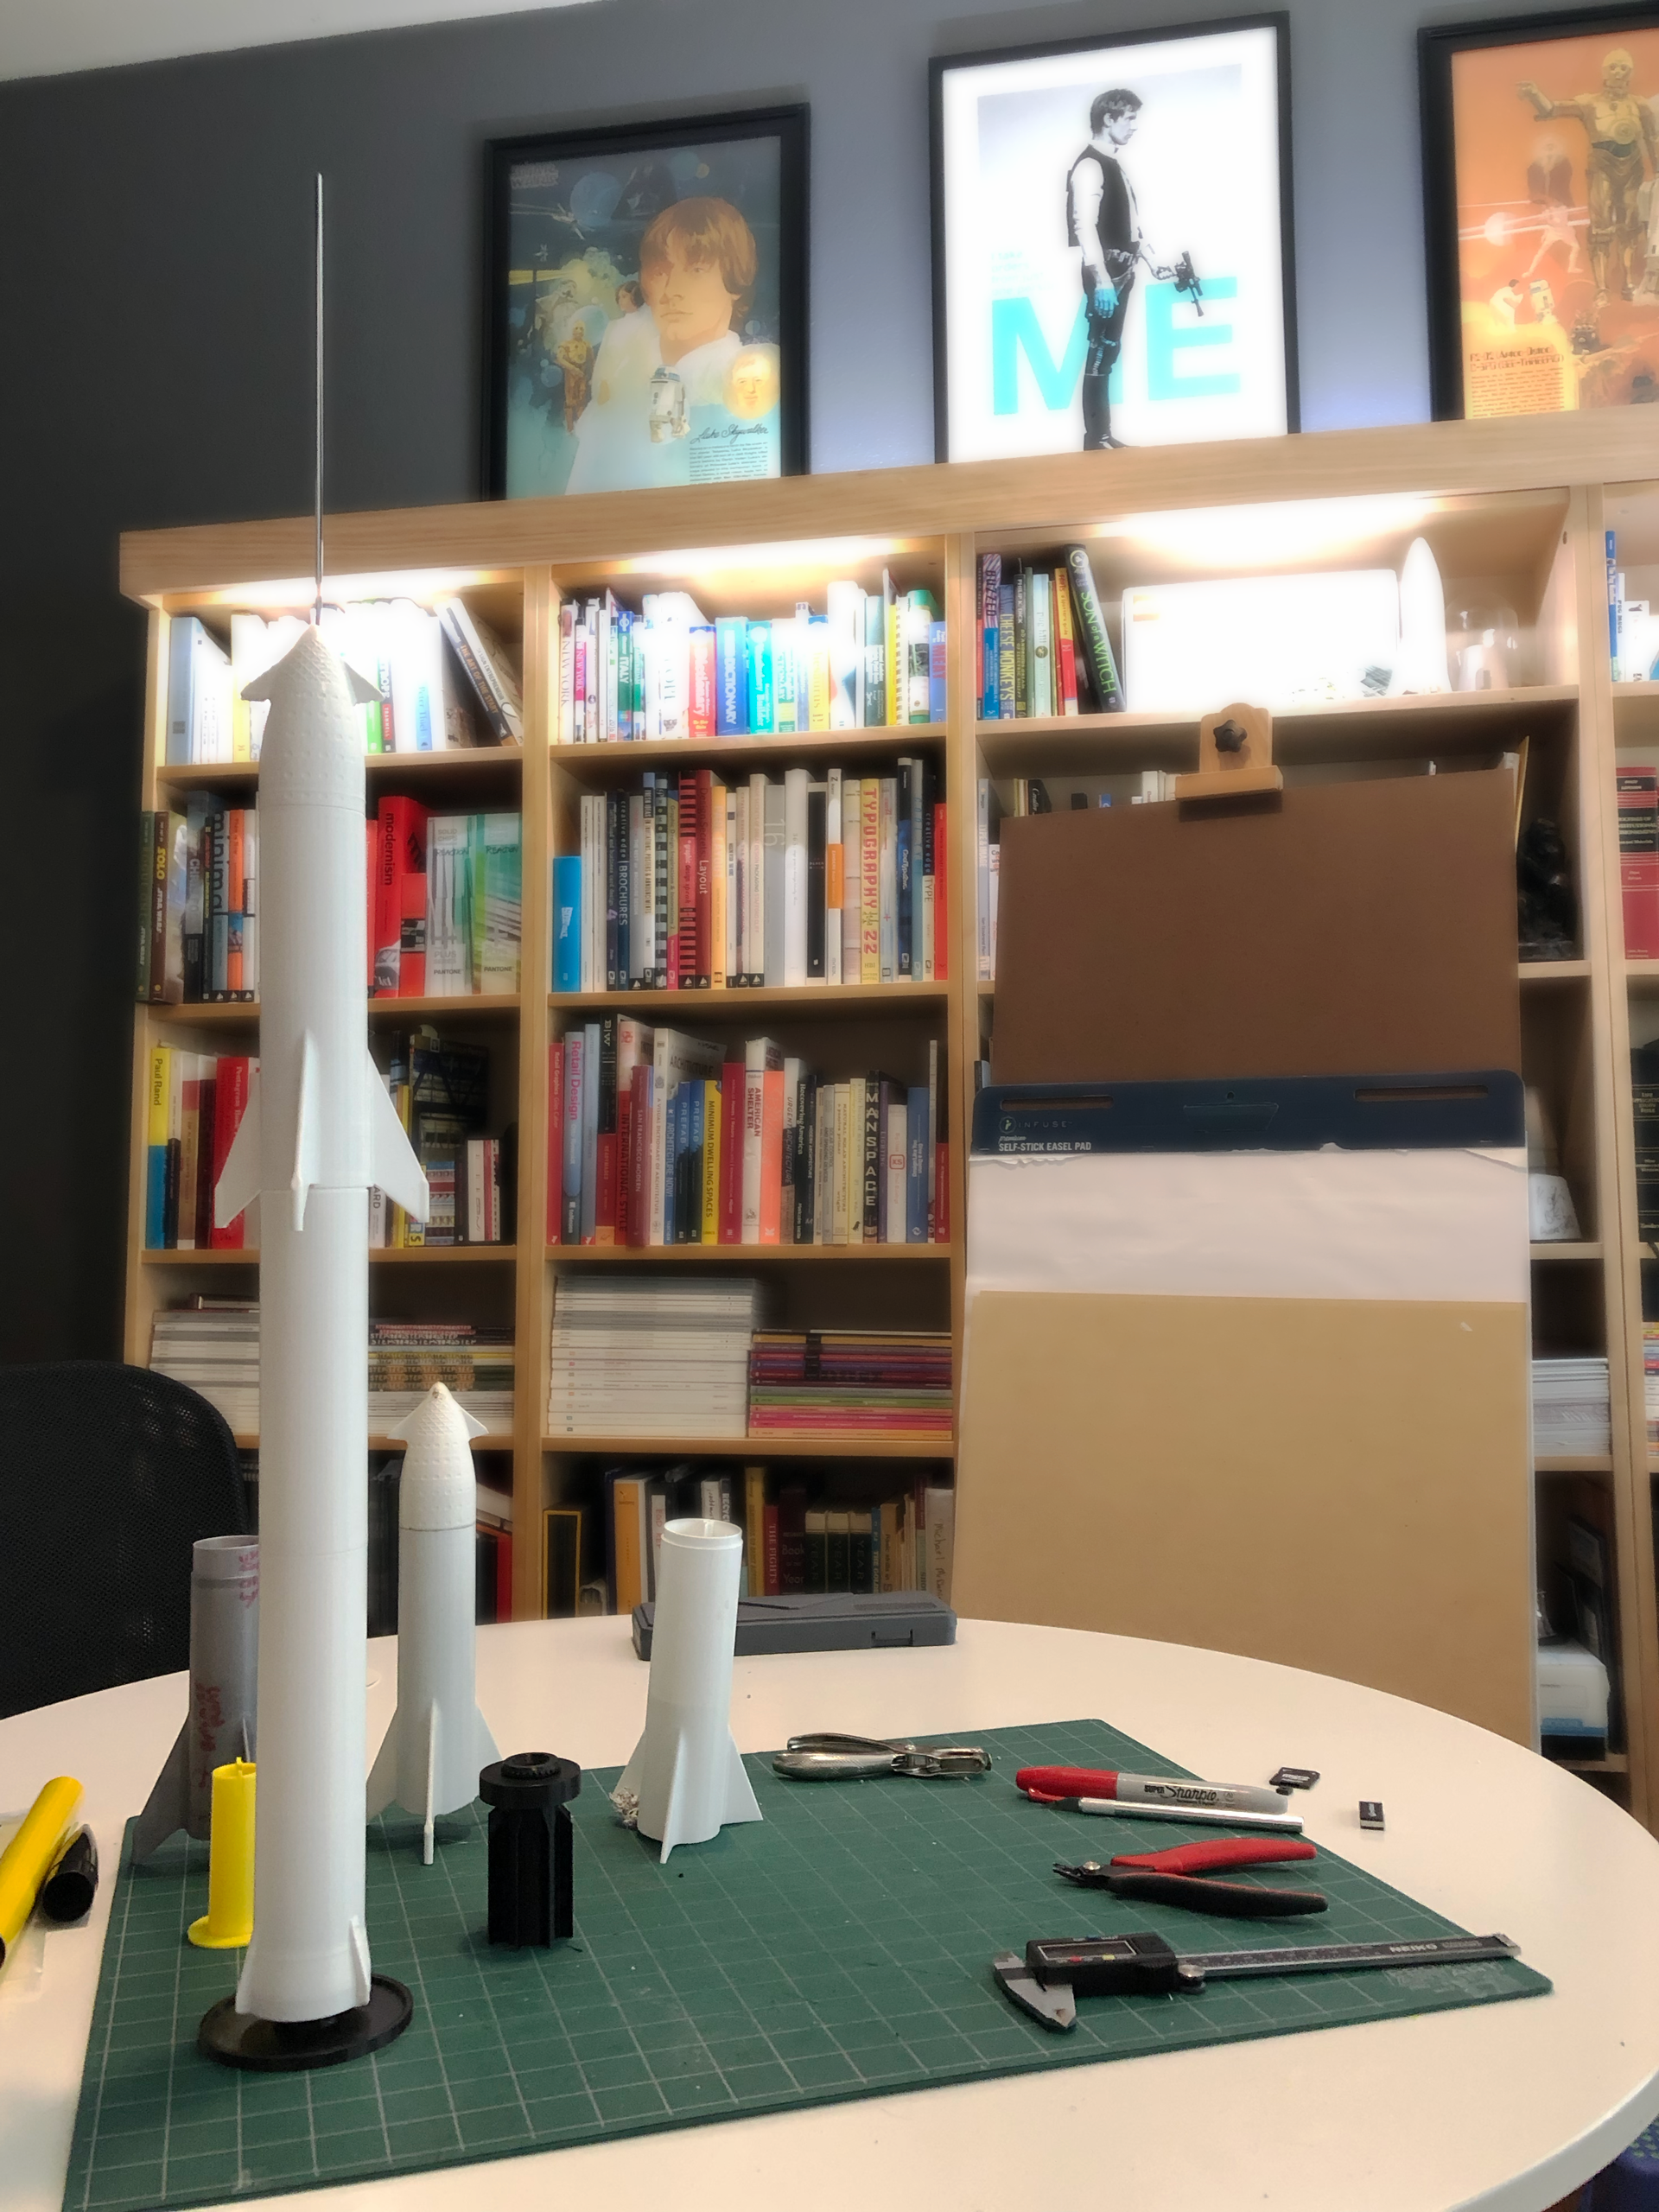
The Starship and Super Heavy booster that will be launching near South Padre Island are not the typical rockets you have watched for years flying out of Florida. This will be one of the largest rocket ever built and is designed to take humans to Mars and beyond. Reading the stats and figures, it is still hard to envision just the scale of these new machines that SpaceX is currently building. It will be massive, standing taller than the legendary Saturn V that sent NASA astronauts to the Moon in 1969. To get a sense of the size of the finished rocket compared to the current “mini starship” prototype in Boca Chica, I found some great 3D models by AliShug over at Thingiverse.com to size and print in my studio.

12632B64-AE5D-4831-A439-6E6EC2C381A5.JPG

Having these large desktop models of the Starships in my studio only made me want to start flying model rockets again. I was fortunate enough as a kid to go to NASA’s Space Camp as soon as I was old enough. Space Camp was the first time I had ever even heard the term “model rocket”, but with the first flight I was hooked. When I got back to my home from Space Camp, I remember clearing my drawing table of plastic model fighter jets to make room for model rockets. All the way into high school I would spend hours designing and building my own model rockets at home, then march into the pastures surrounding our horse barn to fire off my latest design. I learned the basics of flight dynamics through lots of trial and error and starting a few fires in the pasture from my own rocket RUDs (rapid unscheduled disassembly). Some designs lead to some pretty wild flights that sent rockets all over town.

Screen%2BShot%2B2019-06-04%2Bat%2B4.38.52%2BPM.jpg

When we had our own children, being a parent brought an unexpected surprise – an excuse to have fun again. Not that I didn’t have fun before having kids, but rather having kids is an excuse to go inside the Lego store guilt free or to build model rockets again. The kids and I flew several model rockets before their first trip to Space Camp, so rockets are not something that they are unfamiliar with at all. After 3D printing my scaled Star Hopper/Starship/Superheavy for comparison purposes, I was curious how well a 3D printed model rocket would fly. If the kids and I could just print a model rocket to fly, then the design possibilities we could play with would be fantastic! Plus, it has the added benefit that if you loose the model rocket, you can print a new one from the same biodegradable plastic.

Using the previous scaled 3D printed Starship file, I set to modifying the file as the just the skin for a model rocket core that I could use for a variety of model rocket designs. Several printed iterations later, I had a modified model rocket motor mount, launch rod supports, stage couplers and recovery system components that were all 3D printed. I quickly took my rocket core and adapted it to the 3D printed Starship file by AliShug. The first nice weekend we got afterwards, the kids and I went out to test fly the 3D printed SpaceX Starship. We got several flights from the 3D printed rocket that day before running out of Estes black powder motors.

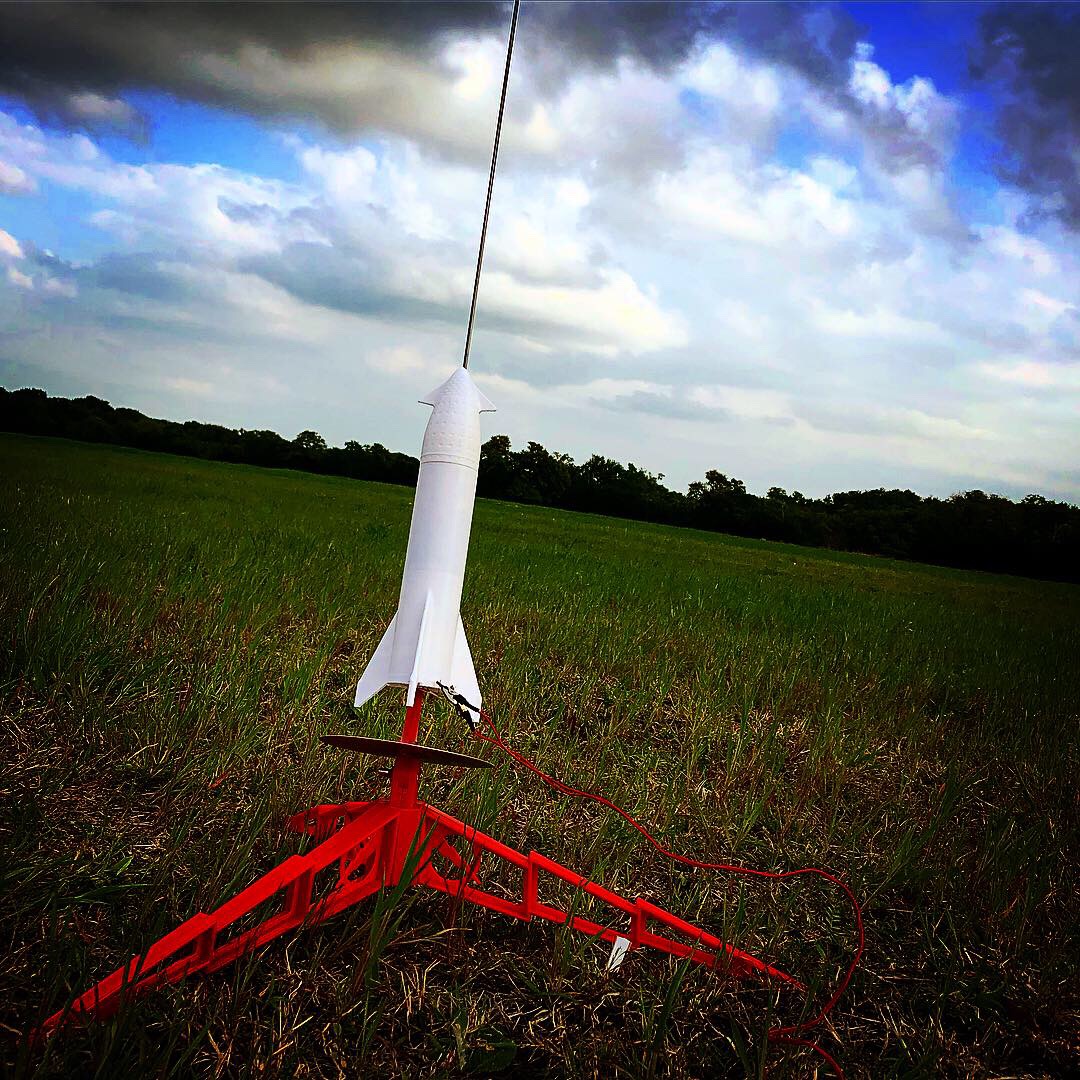
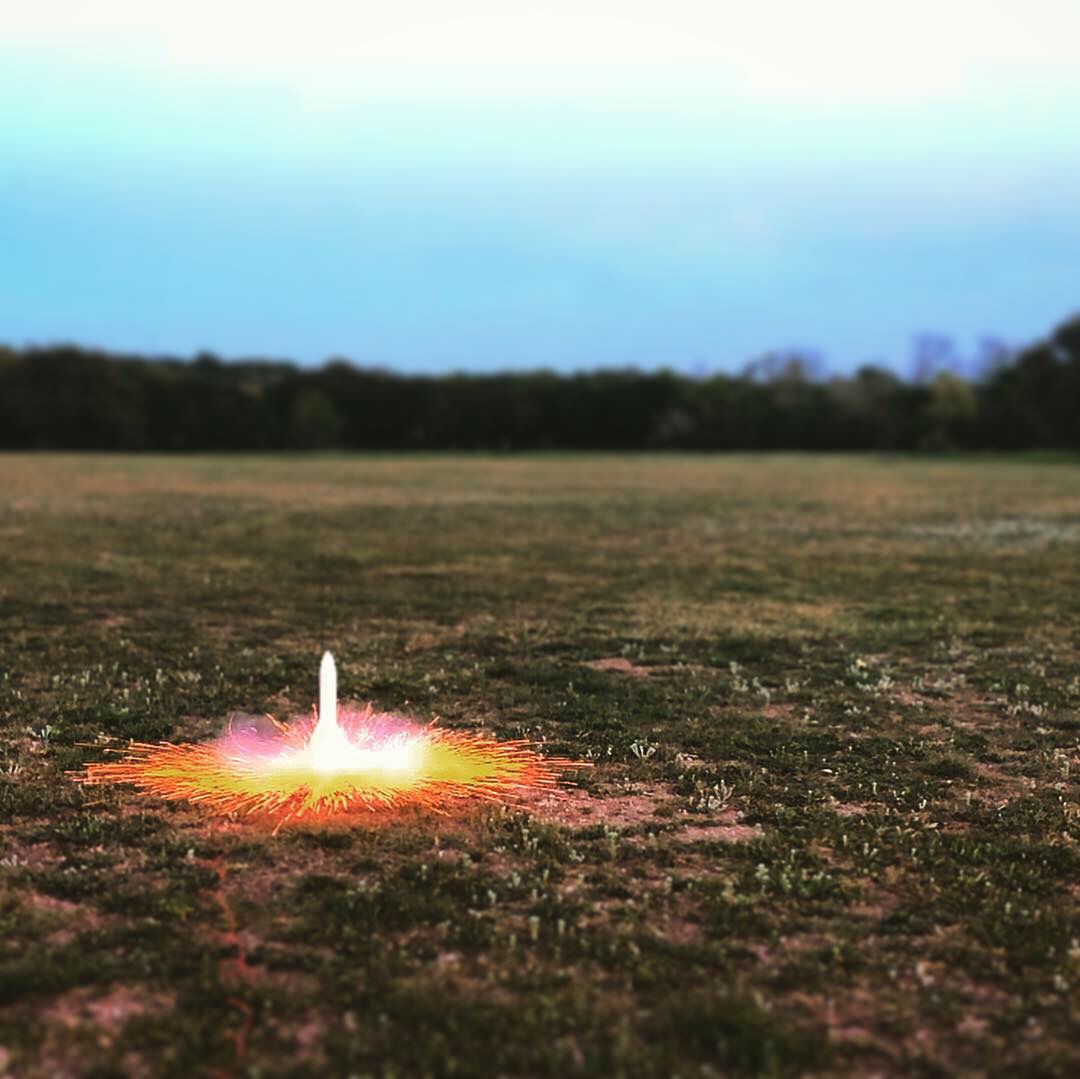
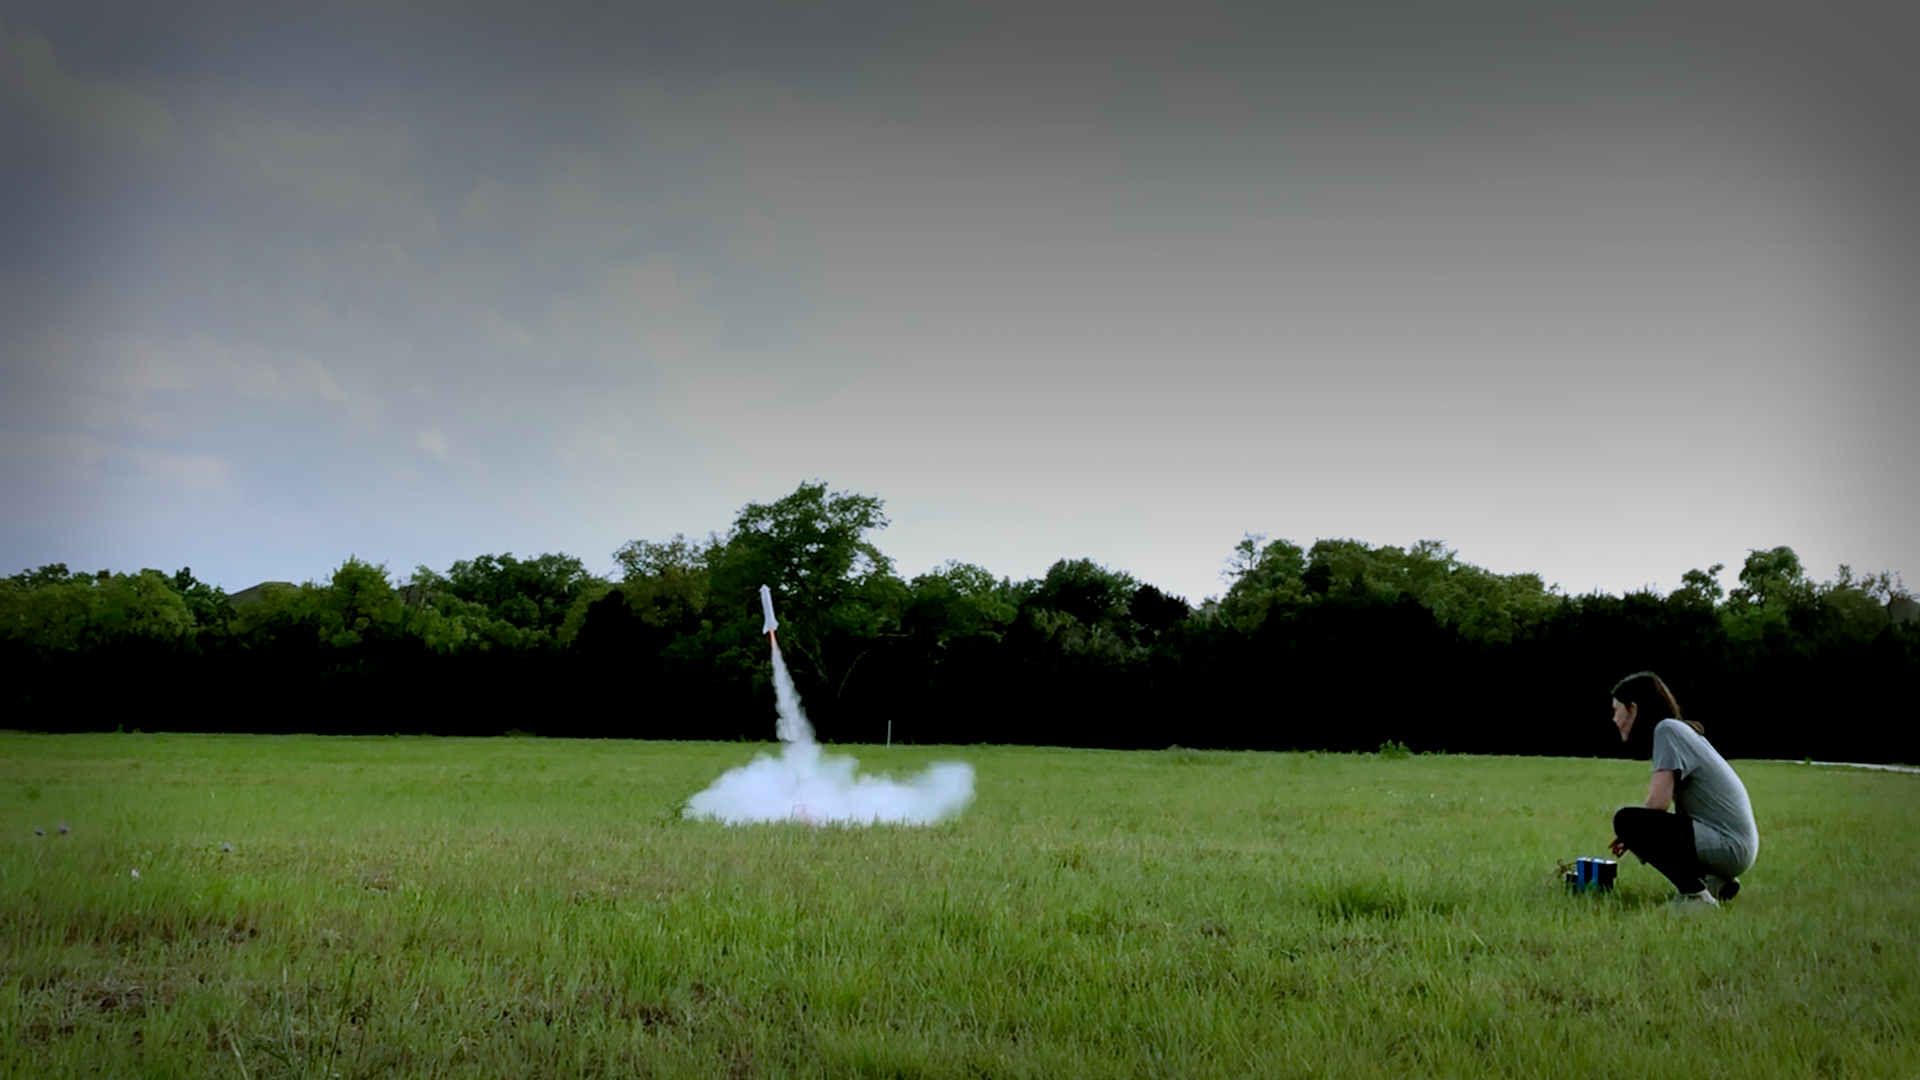
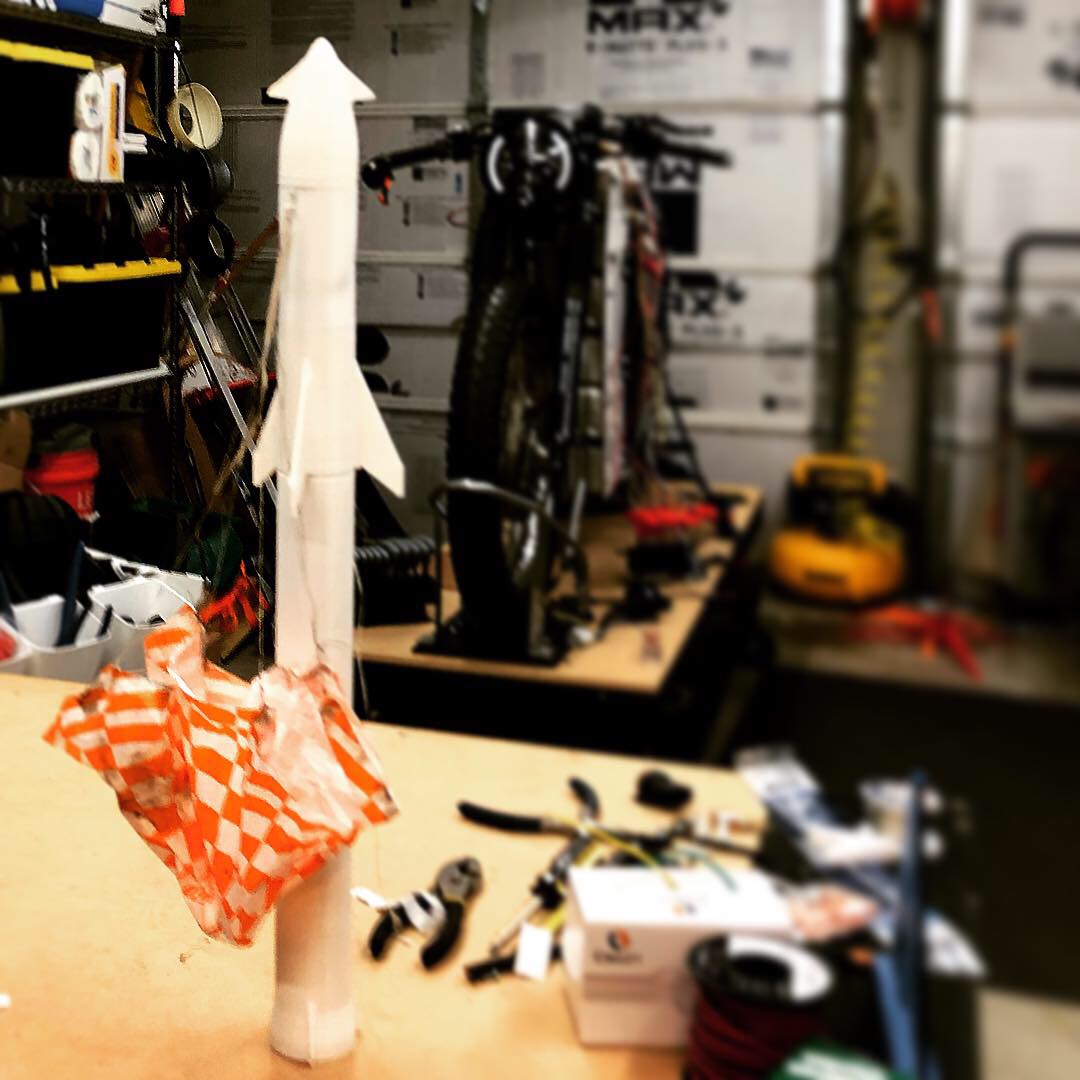
The 3D printed rocket bodies held up surprisingly well, given the heat generated by the black powder motors. I think with a dedicated launcher stand for the rocket, I wouldn’t get any melt/heat warpage. A mostly 3D printed launch stand for the Starship model rocket sounds like a lot of fun to make at some point. It seems to be a flying brick currently. It flies straight under power, then loses stable flight when the main engine cut off happens. Future revs on this design to balance the mass and improve my 3D printed rocket core will hopefully fix this going forward. It took me almost 20 years to come back around to model rockets, but thanks to my kids giving me an excuse and my trusty 3D printer, I am flying rockets again like the nerd I am.

UPDATE - STARHOPPER TESTING RESUMES JUNE 11-13 FROM 2-8PM DAILY, WITH FIRST HISTORIC FLIGHT LIKELY BY THURSDAY JUNE 13!!. CHECK SPADRE TWITTER FOR LATEST NEWS AND UPDATES - https://twitter.com/SpacePadreIsle *** NEW LIVE AUDIO ON STARSHIP CAM! LISTEN TO THE RAPTORS ROAR LIVE! LAUNCHPAD CONSTRUCTION UNDER WAY FOR UPCOMING UNTETHERED STARHOPPER FLIGHTS.

CNC Router Build

2 Comments

CNC Router Build

Life took me away from my garage and tinkering for the latter half of 2016, but on New Year's Eve I was able to get back into my garage. A project I have dreamed about for over 12 years now was to have my own CNC Router to mill and cut out my designs. Some of my other on-going projects like AX03 and the automated Vacuum Former could really use a large CNC mill for big parts from materials other than plastic. Early in 2016, I stumbled across the MPCNC (Mostly Printed CNC) project. After tinkering with and customizing my own 3D printer, I decided it was time to build my own large, CNC platform based on the MPCNC project.

The MPCNC platform from http://www.vicious1.com/

The MPCNC platform from http://www.vicious1.com/

What was interesting about the MPCNC project is that it is just a platform that can be used with just about any tool that you want to strap on it – router, laser cutter, extruder for 3D printing, etc. Also you can build it in just about any dimensions you would like on the cheap since the rails are just EMT. Basically, the MPCNC is a beefy version of my 3D printed Rapid Prototyping Kit using even cheaper EMT rather than stock square aluminum tubing.

Planning for the project was simple. I only had to decide how big I wanted to build the MPCNC and then design/build a simple table for it to cut from. Instead of searching the web for all of the non-printed parts and electronics, I just ordered the kit from the MPCNC's designer. The limited floor space of my garage and accuracy limited the build size to 24" x 48" x 4" (shorter z-axis means more accuracy). I let my 3D printer loose on several days of straight printing while I waited for the hardware and electronics to arrive.

My MPCNC table's first design.

My MPCNC table's first design.

My daughter, Charlie, helping with the Home Depot run for the MPCNC and the table.

My daughter, Charlie, helping with the Home Depot run for the MPCNC and the table.

The table is a simple design that can quickly have more shelves for supplies or other CNC devices added over time. If I am going to carve out precious floor space for something, then I want to get the most of every square foot used. So space and costs were the main drivers here. The table was designed around a single sheet of 1/2" MDF, seven 2x4's, and EMT for the MPCNC rails.

The table actually made a great teaching project for my young daughters as it gave a chance to teach shop safety, design, and building to them. Plus at the end of the weekend we had a huge Etch-a-Sketch that we had made together.

Charlie had a blast learning how to use a miter, chop and table saws for this quick table build. It was a fun day for us both.

Charlie had a blast learning how to use a miter, chop and table saws for this quick table build. It was a fun day for us both.

Both of my girls loved an excuse to get messy by painting the table.

Both of my girls loved an excuse to get messy by painting the table.

Charlie was pretty happy at how our table turned out.

Charlie was pretty happy at how our table turned out.

With the table out of the way we turned to assembling the pile of 3D printed parts. hardware, and EMT. Overall it was a fairly easy build and great for teaching kids about mechanics. One afternoon and most of the MPCNC hardware was assembled. Not too bad.

With the table finished and the hardware ready, it was another day of bolting pieces down, wiring electronics, and lots of testing. Any 3D printer software such as Cura or MatterControl can easily drive the MPCNC since it is just an oversized 3D printer.

Testing the MPCNC with a pen attachment and a Sharpie.

Testing the MPCNC with a pen attachment and a Sharpie.

I can drive it all day long as a 3D printer, but I want to make dust by cutting. Although, it might be fun to drop an extruder on it and try a 4 foot long 3D print. If you need a custom CNC platform, then I would seriously consider the MPCNC. It is not the most beautiful design, but it is cheap (Under $350) and stable. 

2 Comments

3D printed Rapid Prototyping Kit

3D printed Rapid Prototyping Kit

A 3D printable kit of components for making CNC device prototypes quickly. This kit uses parts easily found at local big box home improvement stores like Home Depot and Lowes. The idea being you can print connectors and components while you run around the corner to by #6 screws and tubing. I want to design, build, fail, learn, then rebuild super fast and on the cheap.

AX03 - Android Experiment No. 3

Comment

AX03 - Android Experiment No. 3

Android Experiment No. 3 (AX03 for short) is part of a childhood dream for me. Movies like Star Wars and Short Circuit fueled my desire as a kid to build a robot friend of my own.  So, a year or so ago I decided instead of fixing up a vintage Ford Bronco or taking on another typical hobby, I would try to finally build my own robot after hours. 

Comment

Lulzbot Taz 5 Light Kit

Comment

Lulzbot Taz 5 Light Kit

I wanted to create a light kit that looked factory installed and provided ample light for the print bed. I designed the light kit to printed as one part that mounted on the Makerbeam frame directly behind the Lulzbot Taz logo plate.

Comment